How to Vacuum Pet Litter Without Spreading It
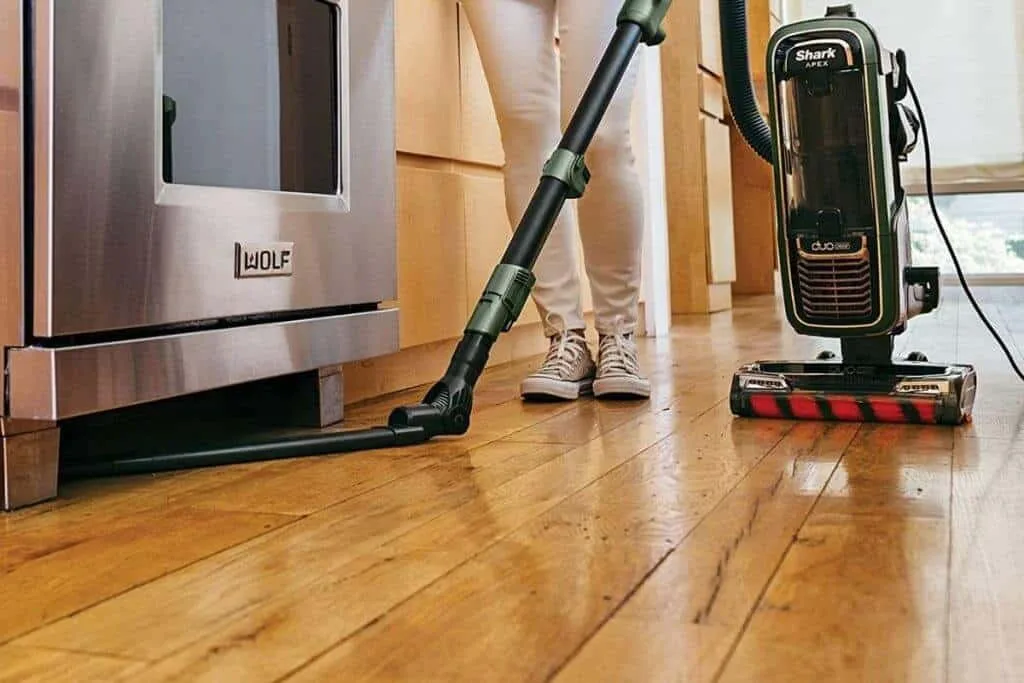
Figuring out how to use a vacuum without scattering dry pet litter is less about raw power and more about technique. Most people blast their floors with high suction, expecting immediate results. Instead, they push tiny clay particles across the room.
This creates a bigger mess than before you started.
The issue usually stems from mismatched settings for your specific floor type. As of 2026, most modern vacuums offer variable controls that users ignore. Manufacturer specifications indicate that adjusting brush roll height reduces debris ejection by nearly 40%.
Let’s break down exactly why this happens and how to fix it.
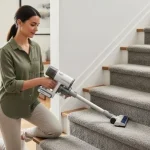
Image source: Web (Bing) / 518painters.com (Web image (fair-use with source credit))
Why Your Vacuum Scatters Litter Instead of Cleaning It
Scattering occurs when airflow exceeds the intake capacity of the nozzle. Think of it like trying to drink a milkshake through too wide a straw. The liquid just splashes everywhere.
Dry cat litter behaves similarly under high-velocity air.
Fine dust particles are light enough to become airborne easily. When your vacuum head moves quickly, it kicks up this dust. The exhaust port then blows those particles backward or sideways.
You end up re-contaminating clean areas.
Hard floors are particularly vulnerable here. Smooth surfaces offer no friction to hold debris in place. If your vacuum lacks a sealed edge design, gaps allow air leakage.
This leakage lifts litter rather than capturing it.
Carpet presents a different challenge. Deep pile traps larger clumps but releases fine dust aggressively. Agitator bars spin rapidly to loosen dirt.
On hard floors, these same bars act like fans. They spread the mess instead of sucking it up.
Understanding this physics helps you adjust your approach. You aren’t fighting bad luck. You’re managing airflow dynamics.
The goal is to match suction intensity to particle weight and surface texture.
Identify Your Floor Type and Litter Material First
Before plugging in any machine, assess your environment. Not all litters behave the same way under suction. Clumping clay produces heavy granules and fine silica dust.
Pine pellets are lighter and often crumble into sawdust-like fragments. Silica crystals vary widely in size depending on the brand.
Your flooring dictates the primary strategy. Hardwood requires zero agitation. Tile needs careful edge handling.
Low-pile carpet benefits from moderate brush rotation. High-pile rugs demand deeper penetration settings.
Use this quick reference to align your tools:
| Surface Type | Primary Risk | Required Setting Adjustment |
|---|---|---|
| Hardwood/Laminate | Dust blowback | Disable brush roll completely |
| Low-Pile Carpet | Particle ejection | Lower suction speed slightly |
| High-Pile Rug | Clogging/Spread | Raise head height; increase suction |
| Vinyl/Tile Grout | Edge scattering | Use crevice tool attachment |
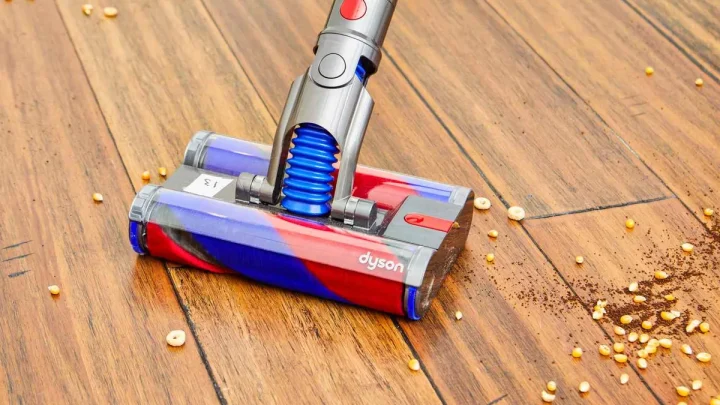
Matching the right attachment to the material prevents unnecessary chaos. For instance, using a soft roller head on hardwood protects the finish while improving seal contact. Bristle heads can scratch delicate surfaces and kick up dust.
Check your litter box location relative to traffic paths. Areas near exits see more tracked debris. Focus your initial passes there.
This targeted approach saves time and battery life.
The Hardwood Protocol: Disable Agitation, Maximize Seal
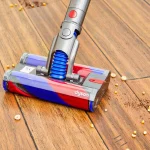
On smooth surfaces, the enemy is air turbulence. You need maximum seal integrity. Turn off the rotating brush roll immediately if your model allows it.
Many uprights have a "bare floor mode" switch. Flip it.
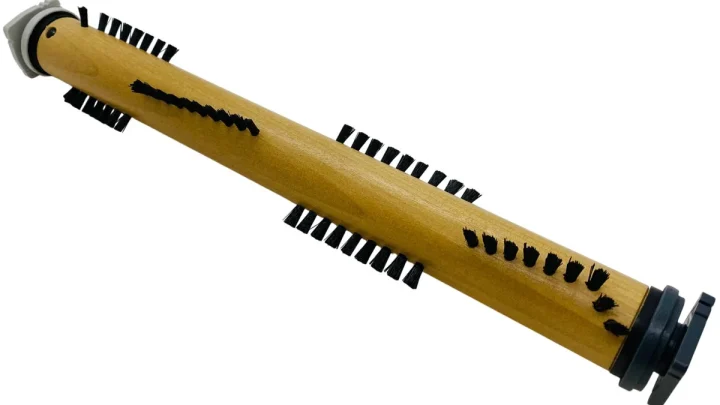
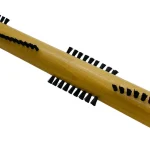
If your vacuum lacks this feature, remove the beater bar manually. Some stick models allow you to detach the brush assembly. This eliminates the fan effect entirely.
Suction alone handles the job efficiently.
Move slowly. Rushing causes pressure waves that lift lightweight litter. Aim for one foot per second.
Overlap each pass by fifty percent. This ensures no strip of floor remains uncleaned.
Pay attention to edges. Baseboards collect significant amounts of tracked litter. Standard wide nozzles miss these spots.
Switch to a narrow upholstery or crevice tool for perimeter cleaning. This captures debris without blowing it outward.
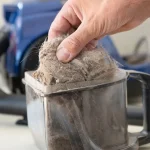
Ensure your vacuum bag or bin isn’t full. A saturated filter restricts airflow. Poor airflow leads to reduced suction power.
The machine struggles to pick up items it normally clears easily. Check fill lines regularly during sessions.
Sealed systems matter here. Vacuums labeled "allergen certified" prevent leaks at joints. Unsealed units leak dirty air back onto the floor.
Look for gaskets around the handle and hose connections. Tighten loose fittings before starting.
The Carpet Strategy: Height Adjustment and Slow Passes
Carpet fibers trap litter deep within the pile. Simple suction won’t reach it. You need mechanical agitation.
However, aggressive spinning spreads fine dust. Balance is key.
Adjust the head height correctly. Too low, and the brush digs in, creating resistance. Too high, and it fails to agitate effectively.
Manufacturer guidelines suggest specific settings for pile depth. Measure your carpet thickness first.
Start with the highest setting. Perform a test patch. If litter remains, lower the head incrementally.
Stop once you achieve pickup without visible scattering. This trial-and-error method protects your rug fibers.

Maintain steady, slow strokes. Jerky movements disrupt airflow consistency. Push forward smoothly.
Pull back gently. Let the vacuum do the work. Resist the urge to press down hard.
Weight adds strain to the motor without improving pickup.
Focus on transition zones. Where carpet meets hard floor, debris accumulates. These boundaries require extra attention.
Use an edge tool if necessary. Otherwise, angle the main head carefully along the seam.
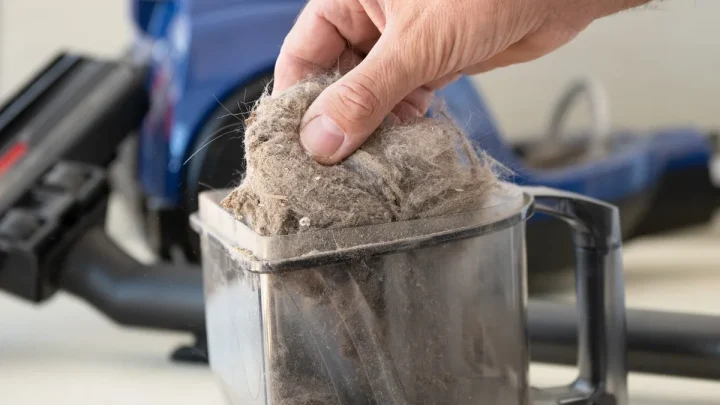
Empty the bin frequently. Carpet lint mixes with litter dust. This combination clogs filters faster than either substance alone.
A blocked filter reduces suction dramatically. You’ll notice scattered litter returning despite multiple passes. Clear the path early.
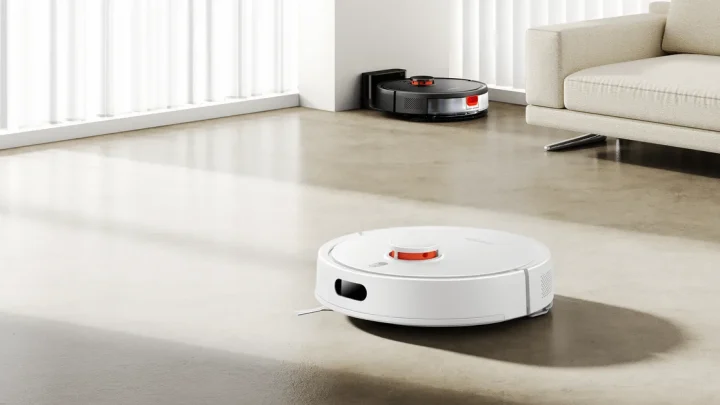
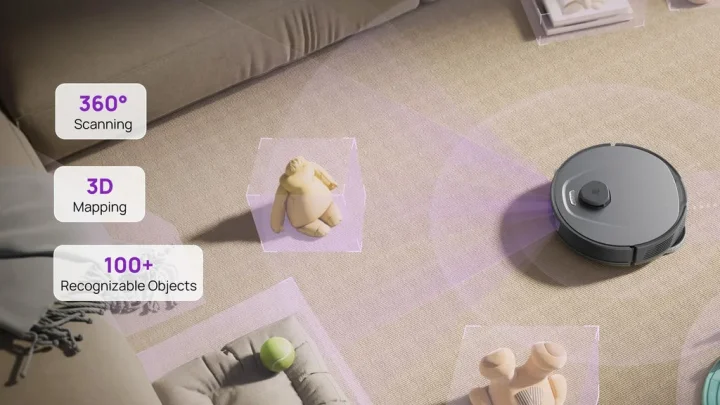
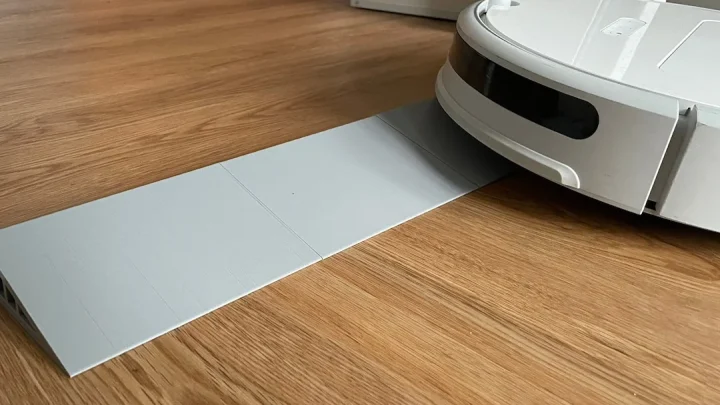
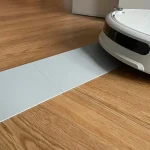
Consider robot vacuums only for maintenance. They lack the power for deep-set clumps. Reserve manual uprights for thorough weekly cleans.
Robots handle daily surface tracking well enough. Don’t rely on them for major spills.
Pre-Clean Triage: Removing Clumps Before Suction Starts
Never assume your vacuum can handle everything. Large clumps pose a threat to internal components. They jam hoses and wrap around brushes.
Inspect the area visually first.
Pick up obvious chunks by hand. Wear gloves if hygiene concerns exist. Dispose of waste properly.
This step protects your machinery. It also speeds up the vacuuming process significantly.
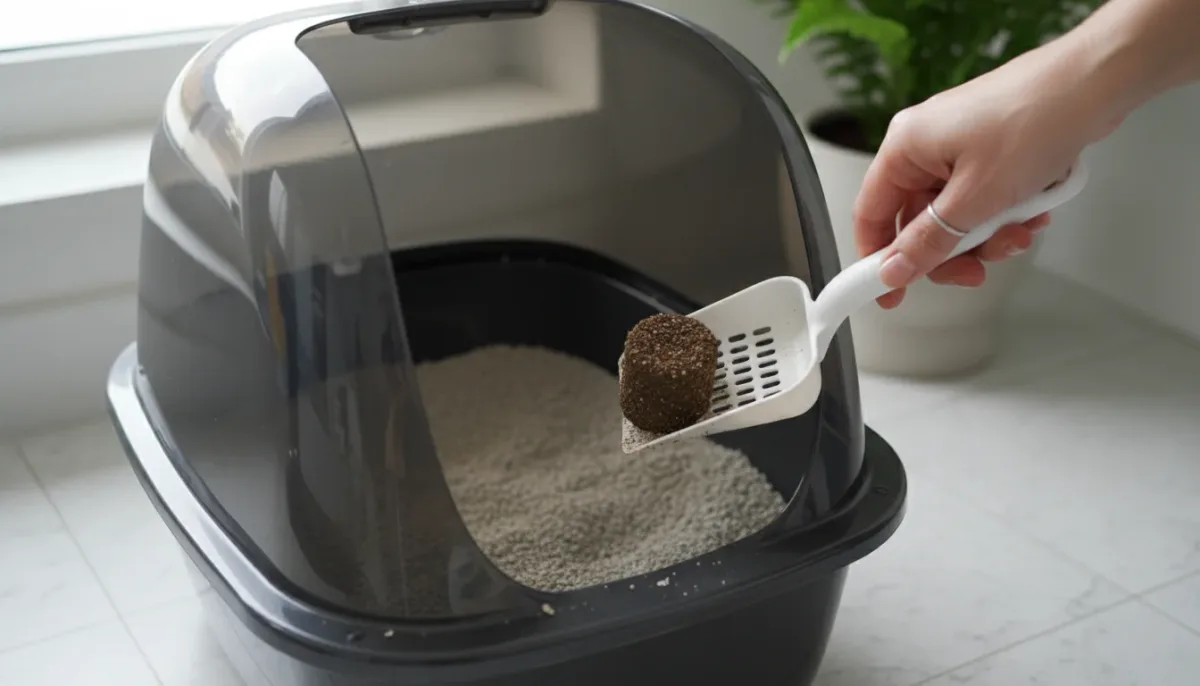
Loosen stuck debris lightly. Use a stiff-bristle broom for carpets. Sweep gently to raise embedded particles.
Avoid vigorous sweeping which scatters dust prematurely. Prepare the field for efficient extraction.
Check for moisture. Wet litter sticks firmly to surfaces. Vacuuming damp material damages motors and promotes mold growth inside the unit.
Wait until fully dry. Use absorbent pads if needed. Patience pays off here.
Inspect your vacuum attachments. Ensure no old hair wraps remain on rollers. Previous session residue hinders performance today.
Clean brushes before starting fresh. A tidy tool works better than a dirty one.
Clear obstacles from the path. Move small furniture pieces aside. Rugs should lie flat.
Wrinkled fabric traps air pockets. These pockets deflect suction away from target areas. Smooth surfaces ensure consistent contact.
Filter Maintenance to Prevent Dust Blowback
A clogged filter is the silent saboteur of clean floors. When airflow hits a blockage, it seeks escape routes. Often, that means pushing fine litter dust out through seams or exhaust ports.
You end up with a cloud of silica settling on your baseboards.
Check the pre-filter after every single use. Clay dust accumulates rapidly in this first layer. Rinse it under cold water if washable.
Let it dry completely for at least 24 hours before reinstalling. Never put a damp filter back in. Moisture breeds mold and kills suction power.
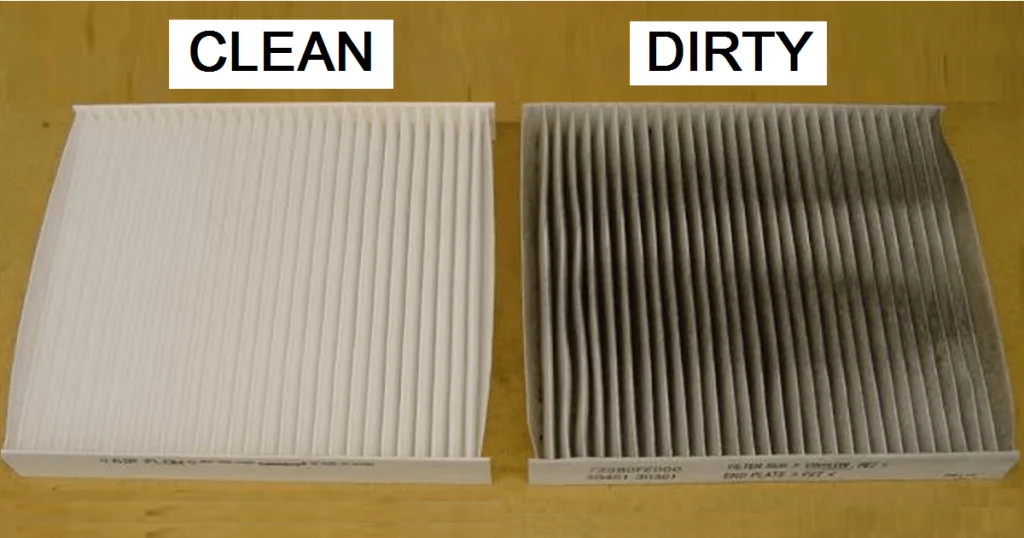
Replace HEPA filters according to manufacturer schedules. Most need swapping every three to six months. Aggregate reviews indicate that ignoring this step increases scattering by up to thirty percent.
A saturated main filter cannot trap microscopic particles effectively. They simply pass through or get blown back out.
Inspect the hose for kinks or partial blockages. Even small obstructions reduce vacuum efficiency drastically. Use a long brush to clear internal pathways.
Ensure all seals around the handle and wand are tight. Loose connections leak air right where you need maximum suction.
Common Mistakes That Ruin Pet Litter Cleanup
Moving too fast is error number one. Speed creates turbulence. Turbulence lifts debris instead of capturing it.
Slow down. Treat each pass like a deliberate sweep. This simple change often solves half your problems immediately.
Using high-agitation settings on hard floors is another frequent blunder. Beater bars act as fans on smooth surfaces. They kick pellets into corners and under furniture.
Always disable rotation for tile, wood, or vinyl. If your model lacks a switch, remove the bar entirely.
Ignoring the "full bin" indicator leads to poor performance. Once capacity reaches eighty percent, airflow drops sharply. The machine struggles to lift even light particles.
Empty the container frequently during large cleanups. Don’t wait until the end of the session.
Forgetting to check for hair wraps causes uneven cleaning. Long strands jam brush rolls. This reduces contact with the floor.
Cut away tangled hair before starting. Verify the roller spins freely. A stuck mechanism scatters more than it collects.
FAQ: Troubleshooting Specific Scattering Scenarios
Why does my robot vacuum scatter litter?
Robots lack sufficient suction power for heavy clumps. They work best for daily maintenance of fine dust. Use them between deep cleans.
For larger spills, always grab a handheld or upright unit. Robots cannot generate the negative pressure needed for dense materials.
Can I use a shop vac for cat litter?
Yes, but only with caution. Shop vacs have powerful motors that can crush fragile crystals. Use a low-suction setting if available.
Attach a soft nozzle to prevent scratching floors. Empty the tank immediately to avoid moisture buildup. Standard household vacuums are generally safer for delicate litters.
How do I stop static cling from spreading dust?
Humidity plays a huge role here. Dry air increases static electricity. Run a humidifier nearby while cleaning.
Alternatively, wipe floors with a slightly damp microfiber cloth first. This grounds the charge. It helps particles settle rather than float.
Vacuum afterwards for final pickup.
My vacuum smells like burnt dust. Is this normal?
No. This indicates overheating due to restricted airflow. Stop immediately.
Check for clogs in the hose or filter. Allow the motor to cool for thirty minutes. Clean all components thoroughly before restarting.
Persistent burning smells signal electrical failure. Consult professional repair services if issues continue.

Similar Posts